Goat is a bit exotic. If you want to impress people. Exotic always works. So, roast a leg of goat and you'll be awesome. Guaranteed. That's a Forkable promise. You can also go off about how difficult it is to make goat and how its often tough, and then when people bite into the moist juicy meat this recipe will easily provide you, everyone's brains will explode. Maybe that should be the title of this post: How To Make Everyone's Brains Explode with Goat. Hmmm Anyway, onto the recipe.
If at any point during this recipe you ask Why? - here's your answer.
_________________________________________________________
Roasted Leg of Goat
a 4-5 lb leg of goat, bone and all seeds from a large mature papaya 1-2 Tbs kosher salt 2-3 large onions for roasting -for the marinade-20 limes, juiced 1 c. rum 1 c. white wine 2 c. olive oil 1/4 c. brown sugar 2-3 large beets -for the dry rub2 Tbs dry ginger 2 Tbs cumin 1 Tbs coriander 1/4 c. brown sugar 1/4 c. kosher salt 1 Tbs sumac chopped fresh mint head of garlic fresh ginger knuckle- 2" or so.

1) Go out and purchase a fresh leg of young goat from your butcher.
The night before you serve:
2) Trim the roast. The roast may be covered by a hard white surface tissue. If so, you'll want to trim this off. I found this to be a bit difficult, but just do your best to remove as much as possible without hacking apart the roast. Put your fingers underneath the tissue and see if you can work it away from the flesh and cut it off that way. Trim off any extra fat deposits. Reserve for later.
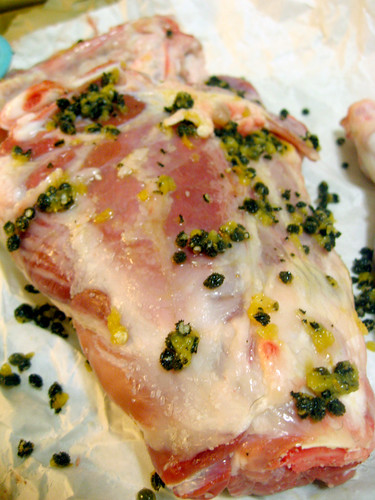
3) Rub smashed seeds and salt on the leg to prepare it for the marinade. Take your papaya and cut in half. Take the seeds from half the fruit and using the flat end your knife, smash them until you can see the white insides. Mix with a few tablespoons of salt and rub over your meat. Chill while you make your marinade.
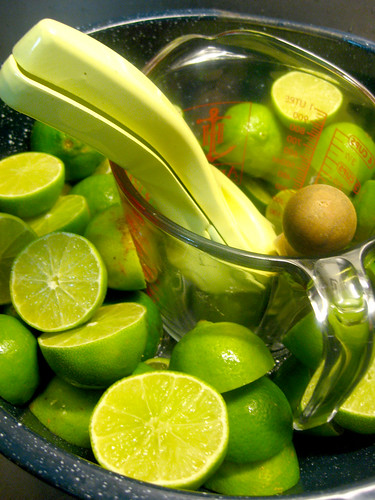
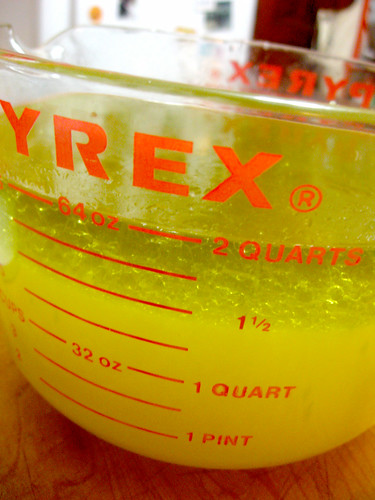
4) Assemble your marinade. Freshly squeeze your limes. Mix lime juice together with your rum, wine, olive oil and brown sugar. Place your leg roast in your roaster and pour the marinade over the leg. Wash and peel your beets, slice and place the slices in the marinade with a few slices on top of the roast.
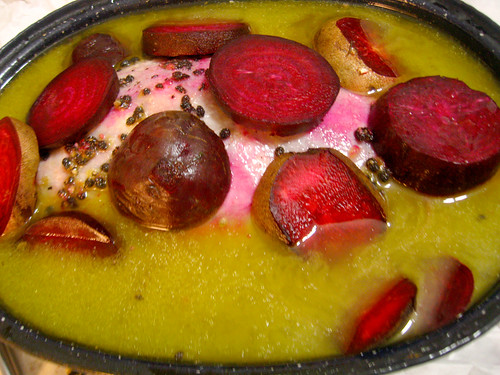
5) Cover the roaster with cellophane and chill overnight. Check your roast every few hours to flip over. You don't need to get out of bed in the middle of the night. Relax. It'll be ok, just don't forget to flip it at least once or twice. Now, go have a drink. You need it.
The Day You Serve:
6) Figure out what time dinner is and schedule cooktime. Once you have dinner time scheduled, figure out the timing of your meat. It will take about 3 hours with the dry rub, 20 min. or so on the bbq and ~90 minutes in the oven. It will be fine to sit for up to an hour after removing from the oven and still be warm. You'll want to get the dry rub on your meal about 5-6 hours before dinner time.
7) Remove the leg from your marinade. Reserve about 4 c. of the marinade for later.
8) Insert your lardoons. Wait, what are lardoons? Well, I can see you didn't read my previous goat article. That's okay. I forgive you. Lardoons are just a fancy way of referring to the fat we trimmed off earlier. Take your roast, and make a few deep incisions into the meat- an inch or so. Stuff these incisions with any trimmed fat as well as a garlic clove and a thin slice of fresh ginger each.

9) Get your dry rub on. Mix your ingredients for the dry rub. Feel free to edit or substitute any of the seasonings on my dry rub. Its not that important, just the salt, sugar and some spice. Take the seeds from the second half of the papaya and smash them the same way you did above. Mix the seeds in with the dry ingredients. They will bind the spices together into a paste. Smear that stuff all over the meat. This is always my favorite part!! Wrap it up in cellophone and chill in the fridge.
10) Heat up the grill. 30-45 minutes before you're ready to start this roast off, get your grill fired up. Figure out your timing based on your grill. We have a very small smokey joe which takes forever! But you may have a fancy stainless BBQ with burners, sinks and an attached swiveling lazy boy. If so, recline back and press the fire button on your remote control.
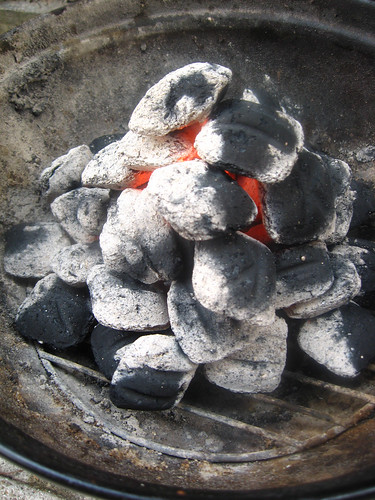
11) Preheat Oven. While you're messing with the grill, have the ol' ball and chain preheat the oven to 325. If you don't have an ol' ball and chain, do it yourself, dummy!
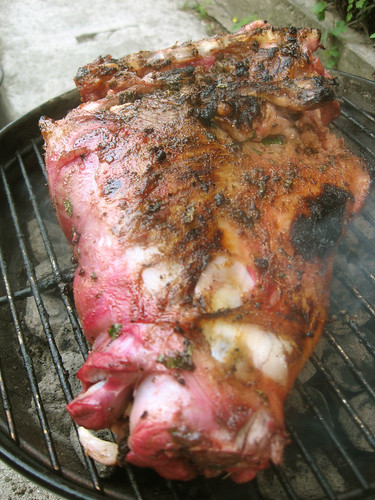
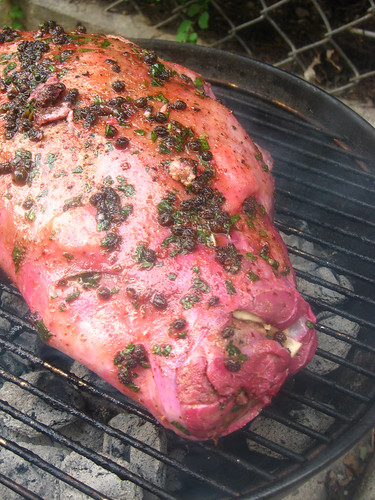
12) Grill it! Once that fire is HOT: get that roast on there, face down first. We're grilling it first to sear it, so only give each side about 10 minutes, more or less until the surface is blackened.
13) Roast it! Have the roaster ready to go at the side of the grill. Fill the roaster with 2-3 large onions quartered to rest the roast on so the meat doesn't burn to the bottom of the pan while its in the oven. Once the meat is done on the BBQ, insert a meat thermometer into the thickest part of the meat and get that pup into the oven. Keep an eye on the thermometer. Once it gets to 130 degrees, probably after 90 minutes or so, remove from the oven.
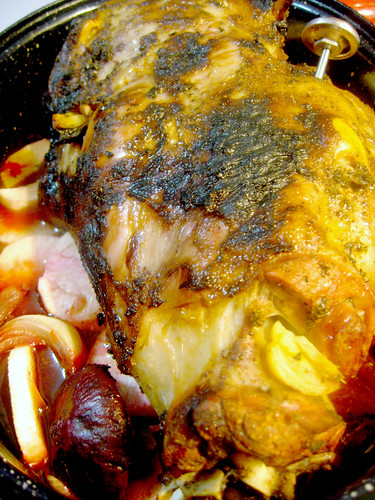
14) Let it rest! After it comes out of the oven, tent it by taking a sheet of aluminum foil and loosely folding it over the top of the leg roast. Let it sit for about 20 minutes. While it sits, you'll notice it will go up to about 140 degrees, which is EXACTLY what we want. Nice- medium rare!

15) Carve it. I wish I could give you better instructions on how to carve, but I can't. I suck at this! I'm told the only way to learn is to practice, so I'll just have to keep at it. Its sort of depressing to make such a beautiful food item and then hack it apart, but oh well. Here's a guide to carving a leg of lamb which may help you. I wish you luck.
Eat it sucka! This of course is always the easiest part. Hopefully you have some people to eat it with. Make sure you tell them how long and hard you worked on this thing. Well, I hope it wasn't actually hard, but make them think it was. Its great when people drool all over you with compliments. Suck it up. You've earned it. You just made a goat! Ha!
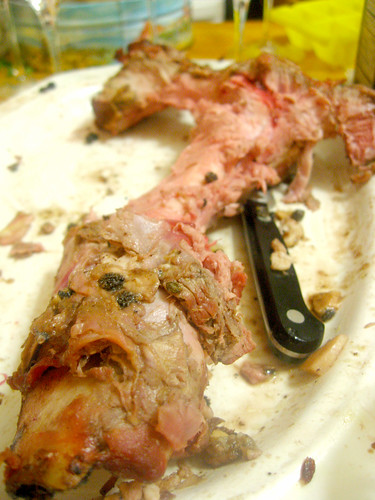
-PS- Don't you dare throw that bone away! Stick it in your freezer to save for stock. There's another long hard winter in front of you and you'll need some broth. I guarantee it.





 Posts
Posts


