Showing posts with label Brine. Show all posts

Wednesday, August 19, 2009

Precious in Pink: Pickled Quail's Egg in Beet Juice

Pickled eggs seem so nice and ol' timey. I imagine some turn-of-the-century saloons where they were available at almost every bar. They're so easy to make. Its just a matter of hard boiling and then soaking them in a brine. My brother-in-law, Jason, always has a jar of them in the fridge, and they do make a great snack; all that protein can really fill you up!


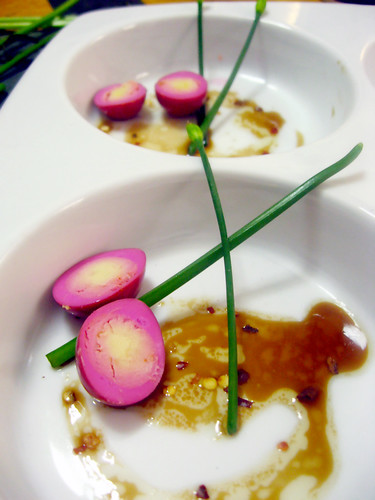
Pickled quails eggs, as garnish for the appetizer course from our Polynesian Meal.

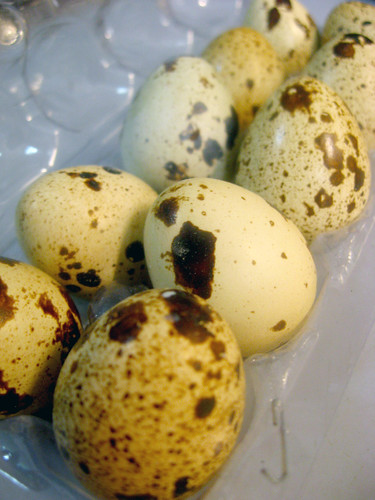
Tiny things are always so precious. You could fit 3 or 4 quails egg inside the shell of an average chicken's so of course, its hard not to adore them. Don't judge them by their size though, although small, once cooked, these eggs are surprisingly tough. Their egg whites are not as soft as their larger counterparts which gives for a surprising texture when bursting into the center and finding a soft, delicate yolk. They are a bit exotic in our culture, but quite common in various Asian cuisines, so are not impossible to find pickled if not fresh in Chinese, Korean or Thai grocery stores.
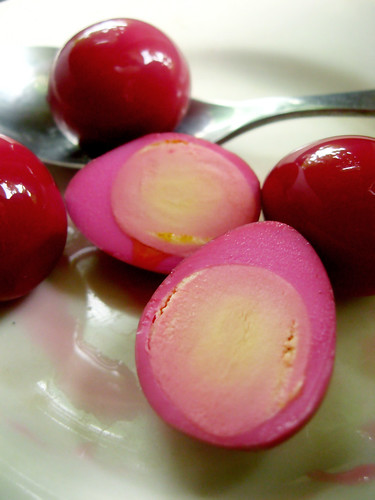


So lets pull out our cauldron, and with a little of toil, toil, boil and bubble, we'll mix together 1 part exotic, to two parts precious, a pinch of ol' timey, and a bit of beet blood for pizzaz and we'll concoct the perfect pickled quails eggs!

(oh come on, I don't mean blood- its beet juice. Sheesh!)

PICKLED QUAIL EGGS
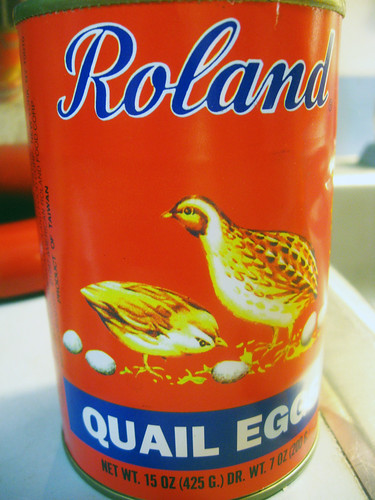
  • 3 dozen fresh Quail eggs, or 2 cans of preserved eggs*
  • 4-5 medium sized beets, washed and quartered
  • 2 c. vinegar (white wine, cider, rice, or any mixture of these)
  • 1/2 c. sugar
  • 1 tsp. salt
  • bay leaves
  • black peppercorn
  • whole cloves
  • fresh mint
  • 1 clean quart jar with lid


* I suggest getting fresh, as the canned eggs are a bit rubbery. However, the longer fresh eggs sit in a brine, the more they will become a bit rubbery as well. They are best eaten within two weeks. However if you plan to store yours for a while, it doesn't matter if you start out with canned or fresh.

Make beet juice. We'll add beet juice to the brine to give added flavor but most importantly a nice purple color. Clean and wash your beets. You don't have to skin them if you don't want just get all the yuck off. Quarter and place in a pot with water covering about 1" above beets. Cover, bring to a boil and then reduce to a simmer. Allow to cook for about 30 minutes, until you see dark red liquid. Drain and reserve 2 c. of juice for your brine.


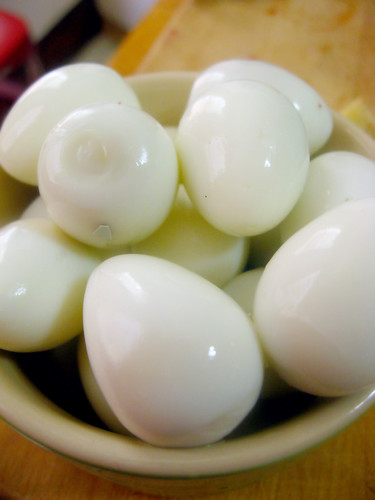
While beets are cooking, we'll prepare the eggs. If you're using canned eggs, you can skip to step 4. If using fresh eggs, we'll need to hard boil them. Place a cloth napkin or towel at the bottom of a pot, place the fresh eggs on the cloth and fill the pot with water. Place the pot on a the stove. Cover and bring to a rolling boil. Once boiling, remove the pot from heat. Let sit for 5 minutes with pot still covered. While its sitting, prepare a bowl of ice water. Take eggs from hot water, and place into the ice water until they cool. This will make peeling them easier. Because they are so small, its easy to damage them while peeling. Peel eggs and set aside.


Create your brine. In your cualdron, I mean in a pot, mix all ingredients, including the beet blood, ahem...juice, but excluding the eye of newt. Ok, joke taken too far now! Excluding the eggs, put everying into a pot and bring to a boil. If you have a pickling spice mix, feel free to use that instead of the whole spices I listed above. Once the brine is boiling, remove from heat.
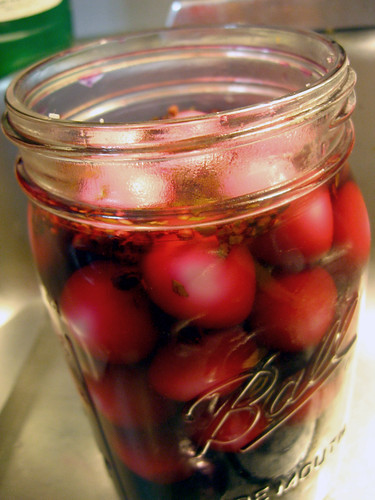


Assemble your jar of pickles. Place your eggs in your quart jar. Pour the hot brine over the eggs, whole spices and all. Fill jar with as much of the brine as possible, place lid on jar and allow to sit. Once cool, you can add in some fresh mint if you want and place in the refridgerator.
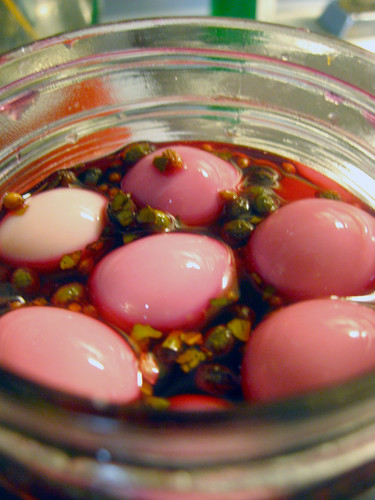


Your pickled eggs will be at full potency in about a week and will remain good indefinitely if kept chilled.

Wednesday, April 15, 2009

Duck Boobylicious: Broiled Duck Breasts with Fig Miso Glaze


For a holiday meal deserving a special treat, there's nothing like duck boobs! Ha ha ha. I mean, ahem, duck breasts, of which I had 2 plump specimens in my freezer saved for such an occasion. They had actually been in the freezer for a bit too long and I was starting to worry they might be going bad. Cooking them up gave me a fancy meal free of any guilt of letting such a delicacy die the slow death of freezer burn.


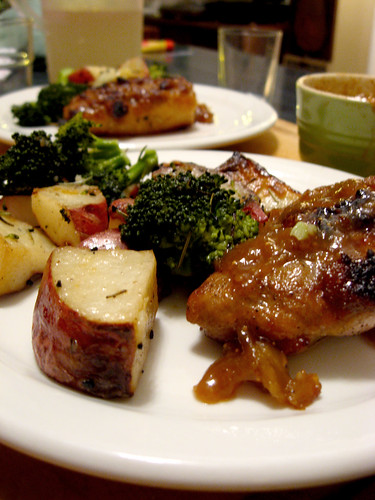
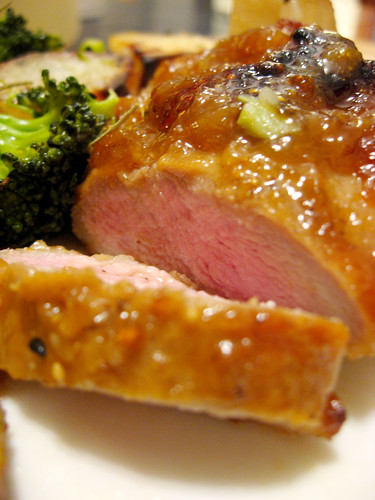
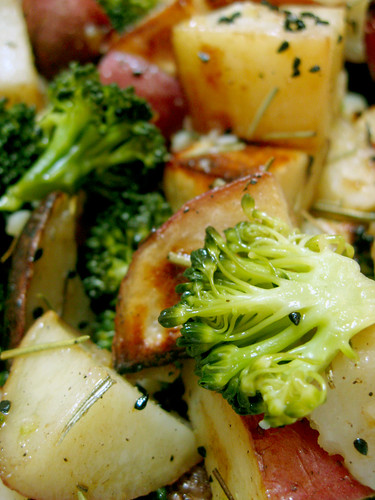
Our Easter dinner of broiled duck breasts sided with rosemary roasted potatoes and lemon steamed broccoli.

I've never had good luck preparing duck before, usually overcooking it into duck leather. At $11.99 a lb, I wanted to make sure my duck turned out! When thinking about the preparation options, I decided to brine the breasts to help the meat retain as much juice as possible. A quick hot cooking method like broiling or sauteing is a good way to sear the outside of the meat and seal the juices in. Broiling with a glaze would infuse rich flavors as well as give a sweet caramelized exterior. I had my method; I just needed my ingredients.


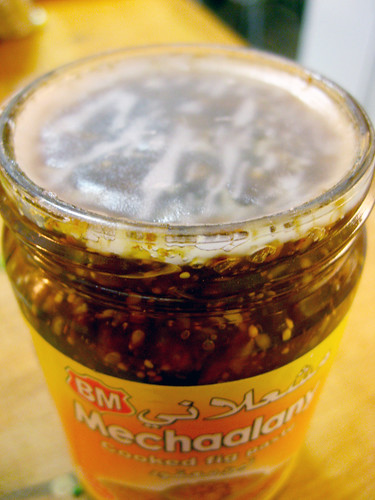
The jar of fig paste on left was sealed with a layer of wax. How old timey!

Whenever I go on a food shopping adventure, I always like to treat myself to one or two exotic treats like the Duck Breasts I got on a visit to Mitsuwa. Easter dinner is a perfect excuse to go whole hog so I pulled out all my fancy ingredients. For the brine I needed an acidic base which immediately put me to mind of the persimmon vinegar I got on my last visit to Chicago Foods. The fig paste from Al Khayam would provide a rich tart base for the glaze. On to the prep.

Broiled Duck Breasts with a Fig Miso Glaze
approx. 1 hour of total cook and prep time with 3-4 hours for brine
  • 2 4 oz. duck breasts
Brine:
  • 1 c. vinegar
  • 1 c. orange juice
  • 1 tsp kosher salt
  • 1 Tbs brown sugar
Glaze:
  • 1/2 c. fig paste
  • 2 tsp miso
  • 2 Tbs olive oil
  • 2 Tbs persimmon vinegar
  • 1 tsp sesame seed oil
  • 1/4 tsp wasabi powder
  • 1/4 tsp brown sugar

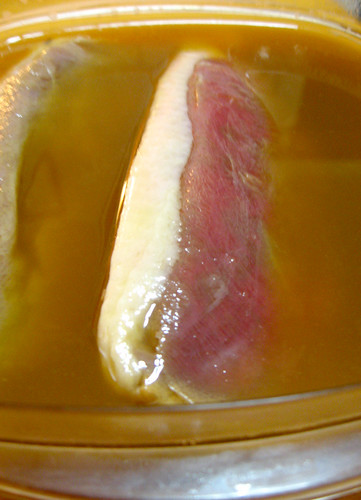
Duck in the brine.

Similar to red wine vinegar, the persimmon vinegar had a very deep tart flavor, so I mixed some orange juice with the brine to sweeten the flavors. I let the duck soak submerged in the brine for 3-4 hours in the fridge.


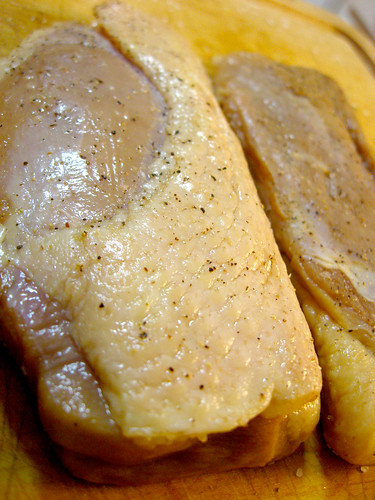
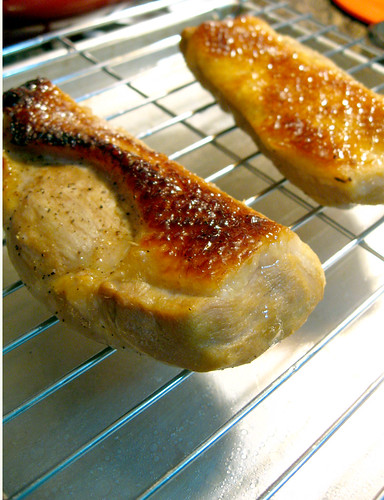
On left, the breasts after the brine, patted dry with salt and pepper. On right, the breasts on a makeshift rack after the first 4 minutes under the broiler.

I'd never made duck breasts alone before, so I wasn't sure the proper time broiling. I did a quick google search and just clicked on the appropriate first recipe I saw which could give me a rough idea of times. The recipe states:
  1. Pat duck breasts dry and sprinkle all over with salt and pepper.
  2. Remove rack of a broiler pan, then add 1 cup water to broiler pan and replace rack. Preheat broiler with pan 5 to 6 inches from heat.
  3. Broil duck breasts, skin sides down, 4 minutes
  4. Turn over and broil until thermometer inserted horizontally into center of a breast registers 130°F (see cooks' note, below), 8 to 10 minutes more for medium-rare.
The info given for the temp the breast should read on the thermometer was very helpful. To insert my glaze into the recipe above, I proceeded with steps 1-3 and added the glaze to the top of the breasts after flipping over and placed the back in the oven to finish broiling for the last 8 minutes.

Though my duck breasts were half the size as the ones listed in that particular recipe, by following the first steps along with the temp guide lines, I was able to make sure my Duck breasts were plump, juicy and delicious.


The rich fatty meat was complimented by the deep sweet and tart flavor of the fig mixed with the vinegar and miso with an extra little kickass taste of wasabi. Sided with roasted potatoes and steamed broccoli with lemon and black caraway. The quack was loud but our bite wasn't vicious and that dinner I was cookin was duck boobylicious!

Monday, November 24, 2008

The Best Turkey Is A Brined Turkey


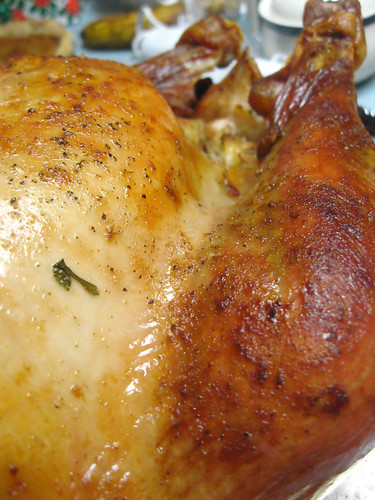
Soaking your turkey overnight in a salt brine solution is the best way to insure a moist juicy turkey on Thanksgiving. It requires no special ingredients or tools except a pot or bucket big enough to hold the turkey and small enough to fit in your refrigerator. You can also use a large cooler filled with ice if your Turkey is too large.

The turkey should be completely submerged in your brine solution and should be soaked anywhere from 12-24 hours depending on its size. For a large turkey above 15 lbs, I suggest 24 hours.

A basic brine solution is made up of water, salt and sugar. In addition to this, you can add any number ingredients such as fruit, herbs, spices, vinagers, juices, stock etc. The brine recipe I've used with success is:

For 1 Gallon of Brine:
  • 3/4 c. coarse Kosher salt
  • 1/2 c. brown sugar
  • 1/4 c. white sugar
  • 1/2 c. cider vinegar
  • 2 lemons quartered
  • 2 oranges quartered
  • Sprigs of thyme
  • sprigs of rosemary
  • handful of peppercorns

For each additional gallon necessary to submerge your bird, add 1/2 cup of salt, 1/2 c. sugar, and one more piece of citrus fruit.

Here is more information on brining poultry.